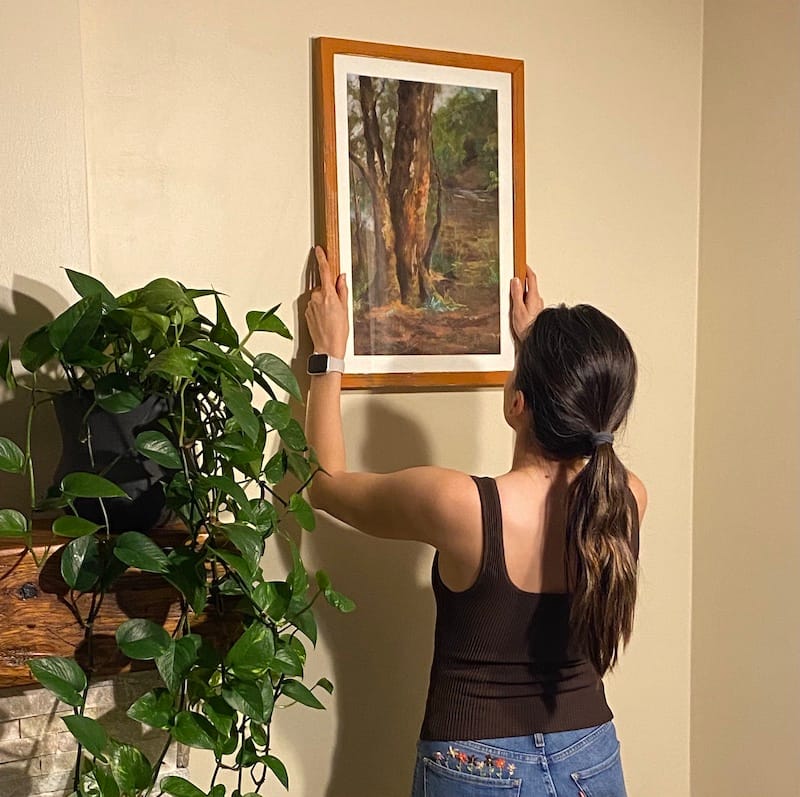
I realized when I buy a frame for my artwork, the mat frames are usually ordinary, plain colors, and mundane. So, I took the business into my own hands. But let me prepare you! It takes practice, and you will eventually cut a beautiful mat frame if you do not lose hope. So here we are with the materials and steps.
Materials and tools you’ll need:
- Mat board: You can find mat boards at most art supply stores or framing shops. They come in various colors and sizes. I bought my uncut mat board from Michaels, and here is the LINK.
- Artwork or photo: You’ll want to have the item you’re framing on hand to measure it accurately. I used one of my original paintings. Take a look at all of my artwork HERE.
- Pencil
- Ruler or T-square: A T-square is especially useful for ensuring your cuts are perfectly straight. I used a regular ruler, but a T-square would make the process a lot easier.
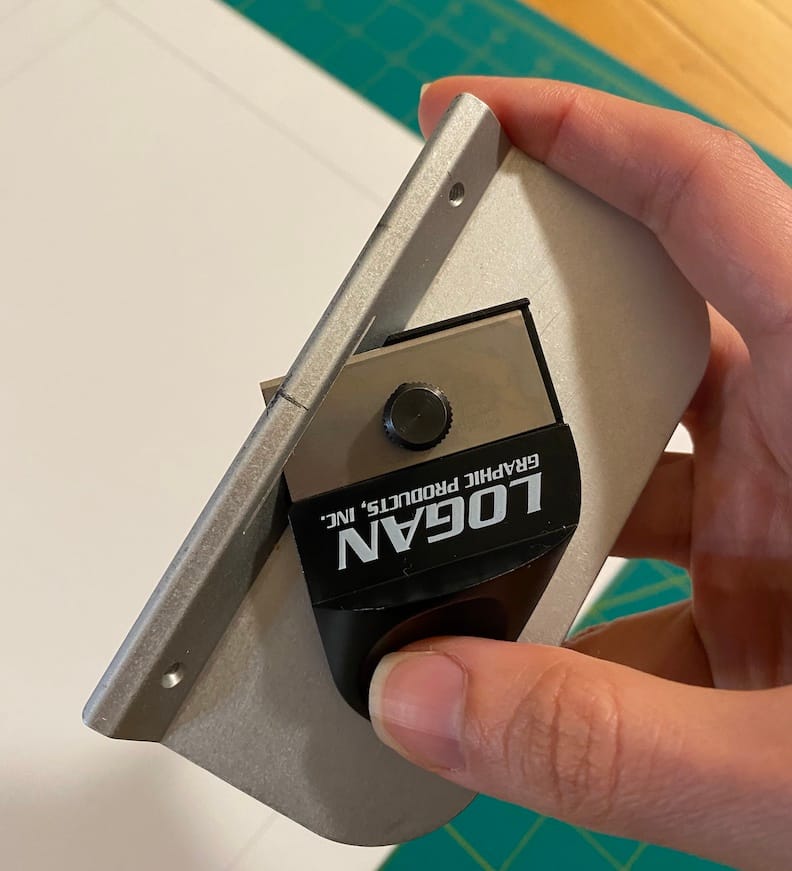
- Bevel cutter: This specialized tool is designed to create beveled edges on mats. They often come in different sizes and with replaceable blades. I used the Logan Bevel Cutter from Amazon.com.
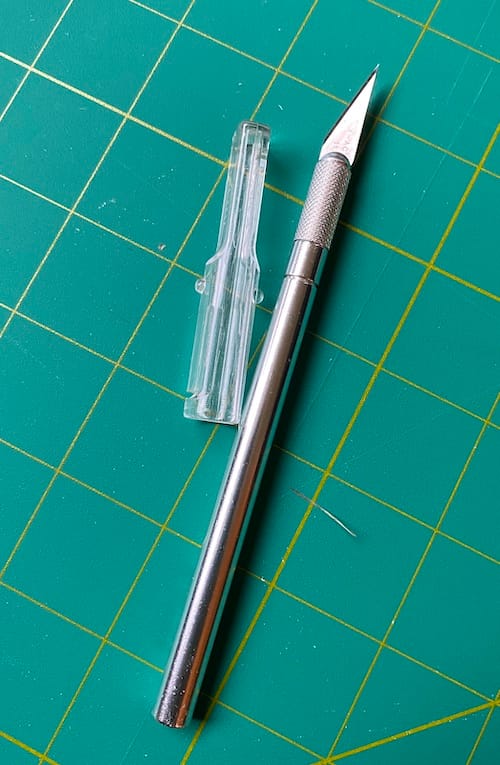
- Utility knife, mat cutter, or exacto knife: A mat cutter is a specialized tool for this task, but you can use a utility knife or an exacto knife if you’re careful. I used my old exacto knife and found THIS ONE on Amazon, closest to mine. Many options are available online.
- Cutting surface: Use a self-healing cutting board or a piece of cardboard to protect your work surface. You can find plenty of options online, and HERE is the link to the cutting surface I have been using for a while and cannot be happier with it.
- Artist Tape: to secure the artwork behind the mat frame. They are widely available locally or online. HERE is a link to the one I purchased for my crafting projects.
Step-by-Step Instructions:
Measure your artwork/photo: Measure the dimensions of your artwork, both width and height and write down these measurements.
Calculate the window size: Decide how much of your artwork you want to be visible within the mat frame opening. Typically, this is around 1/4 to 1/2 inch smaller than the artwork on each side. For example, if your artwork is 12*18 inches and you want a 1/4 inch mat border, your mat window size would be 11.5*17.5 inches.
Determine the outer mat size: To find the total size of the mat, add the desired mat border to the artwork’s dimensions—hint: the outer mat size is equal to the panel on the back of your frame. The panel on the back of my frame is 14*20 inches, making the mat thickness around 1 inch on each side.
Mark the mat board: Lay the color side of the mat board down on your cutting board and use a pencil and ruler to mark the outer mat size on the mat board. Ensure your lines are straight and your corners are square, using a T-square for precision.
Mark the mat window: Measure and mark the inner window size (the size of the opening in the mat) on the mat board, just as you did with the outer mat frame size. Again, ensure straight lines and square corners.

Cut the mat window: Use the bevel cutter to cut along the lines you marked for the mat window, angling the blade to create a beveled edge on the inner opening. When using a bevel cutter, you’ll want to angle the blade to create the beveled edge. Follow the manufacturer’s instructions for your specific bevel cutter.

Cut the outer dimensions: Use your utility cutter to cut along the lines you marked for the outer dimensions of the mat.

Clean up the edges: After cutting, you may have some rough or uneven edges. Use a sandpaper block or a piece of fine-grit sandpaper to smooth out the edges. After much trial and error, my final mat frame turned out great, and I could skip this step.

Insert your artwork: Place your artwork/photo behind the mat board so it shows through the window opening. I used an Artist Tape to secure the artwork behind the mat frame.


Assemble your frame: Insert the matted artwork into your frame and secure it in place according to the frame’s instructions.

By using a bevel cutter, you’ll achieve a professional beveled edge on your mat, adding an elegant touch to your framed artwork or photo. Remember to work carefully and precisely to get the best results.
Please let me know if you tried these steps and your end results.
Happy crafting, my dear friends.


